

Usage
To run on Azure Quantum, provide the credentials and location of your own Azure Quantum Workspace. For the details to collect, see Executing on Your Quantum Workspace.- SDK
- IDE
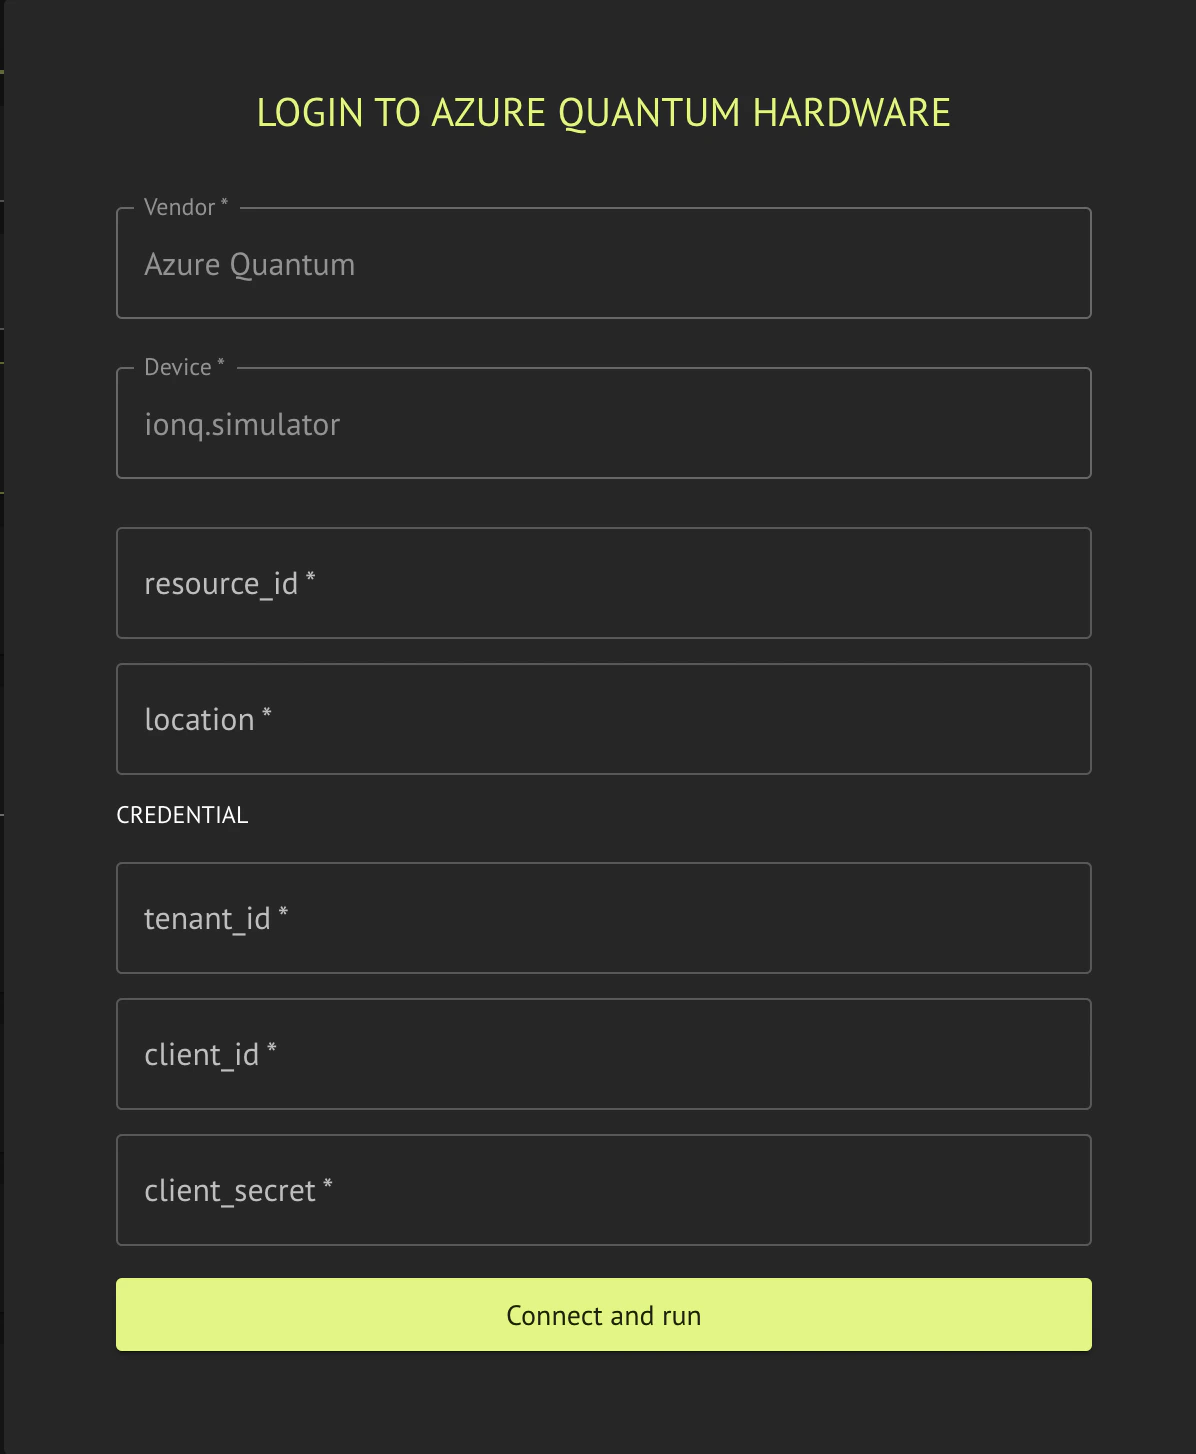
Run via Classiq is not available for Azure Quantum backends in the Classiq IDE, for execution or benchmarking. Jobs submitted from the SDK with Run via Classiq are rejected for Azure QPUs and all Quantinuum targets. Because
AzureBackendPreferences runs via Classiq when credentials is omitted, always pass credentials for these targets.Executing on Your Quantum Workspace
Execution on your private Azure Quantum Workspace requires an Azure account with an active subscription. To authenticate, provide these details:Resource ID: Azure Quantum Workspace resource ID.Location: Azure region of the Quantum Workspace.Tenant ID: Azure Active Directory tenant ID.Client ID: Azure client ID of a registered application.Client secret: Azure client secret of a registered application.
-
Create an Azure Quantum Workspace (see
Azure documentation).
In the workspace overview are the
LocationandResource ID. -
Register a new application in Azure, including creating a client secret (see
Azure documentation).
At the end of this step are the settings for
Client ID,Client secret, andTenant ID. -
Assign the
Contributorrole to the registered application on the Quantum Workspace or a resource group containing the Quantum Workspace (see Azure documentation). -
Add the
Jobs.ReadWritepermission (underAzure Quantum) to the application (see Azure documentation).
Supported Backends
Included hardware:- “ionq.qpu.forte-1”
- “ionq.qpu.forte-enterprise-1”
- “ionq.simulator”
- “rigetti.sim.qvm”
- “quantinuum.sim.h2-1sc”
- “quantinuum.sim.h2-1e”