

Setup and Get Started
To get started with the Studio, follow these steps:- Sign in to the platform: access is by invitation only, so if you do not yet have a Classiq account, first request access through the Registration guide. Once your account is set up, sign in at platform.classiq.io with your Google/Microsoft account or a general email address, and you’ll be redirected to the platform home page.
-
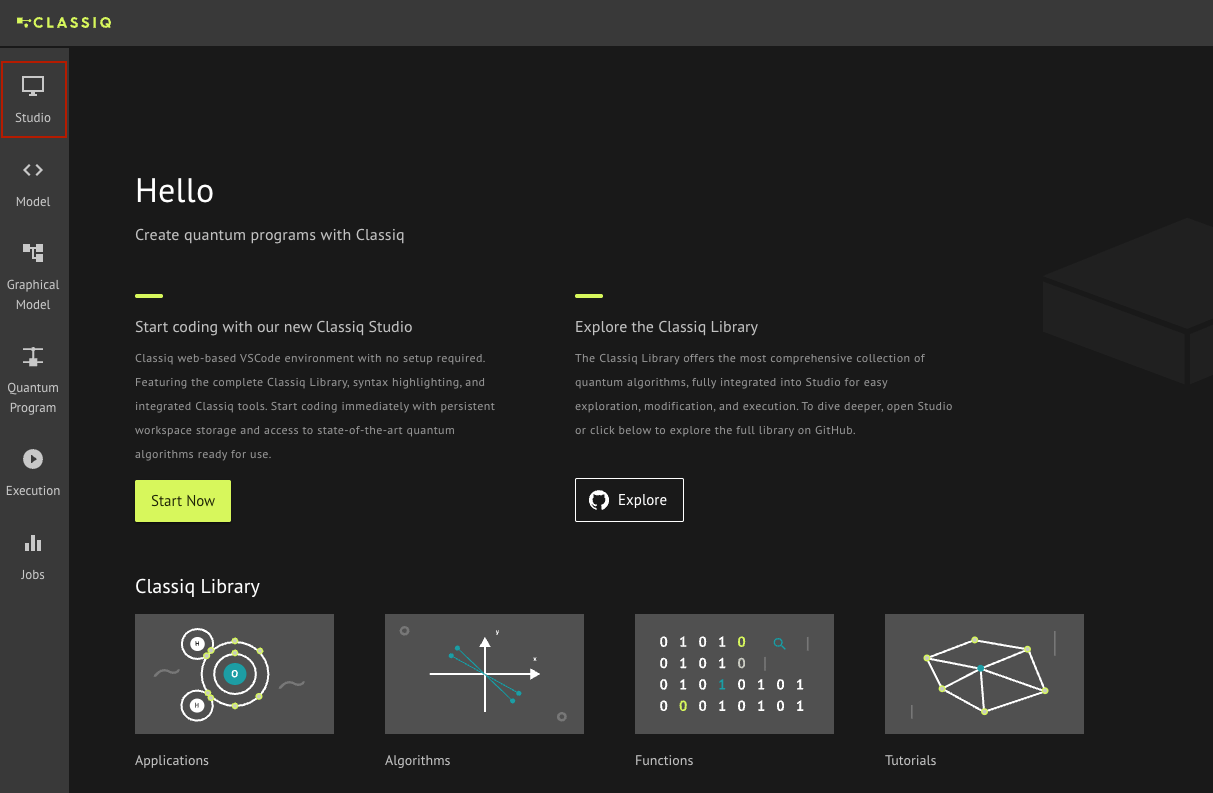
Access the Studio from the platform home page using the sidebar button, as shown below.
-
Your environment is loaded in a new browser tab (initial setup could take a couple of minutes).

-
Please trust the Classiq workspace author to open the Classiq extension and load your workspace.

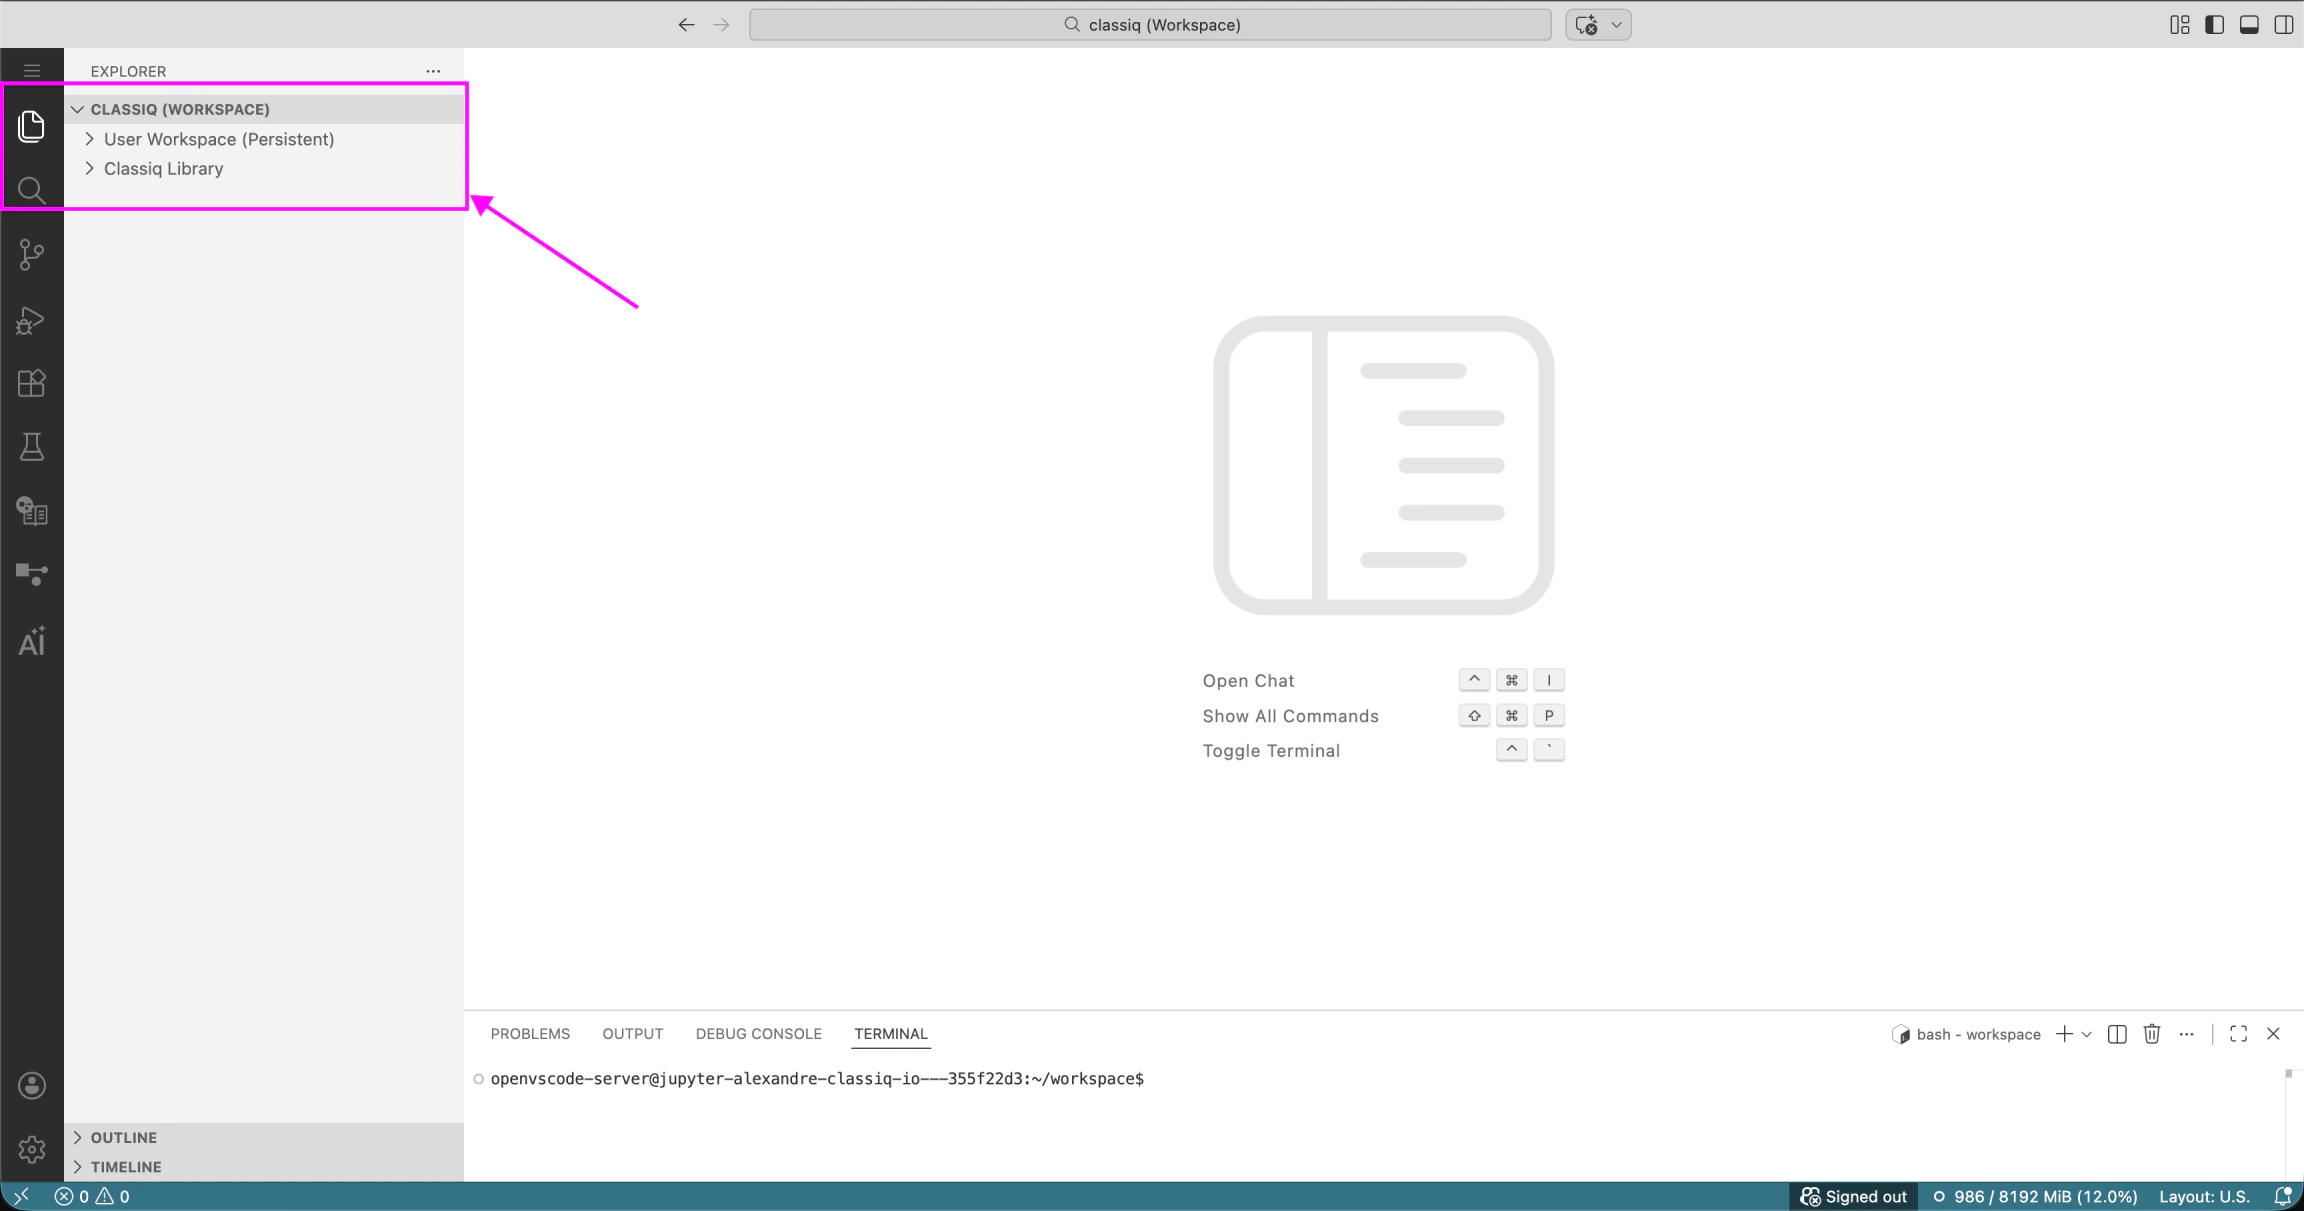
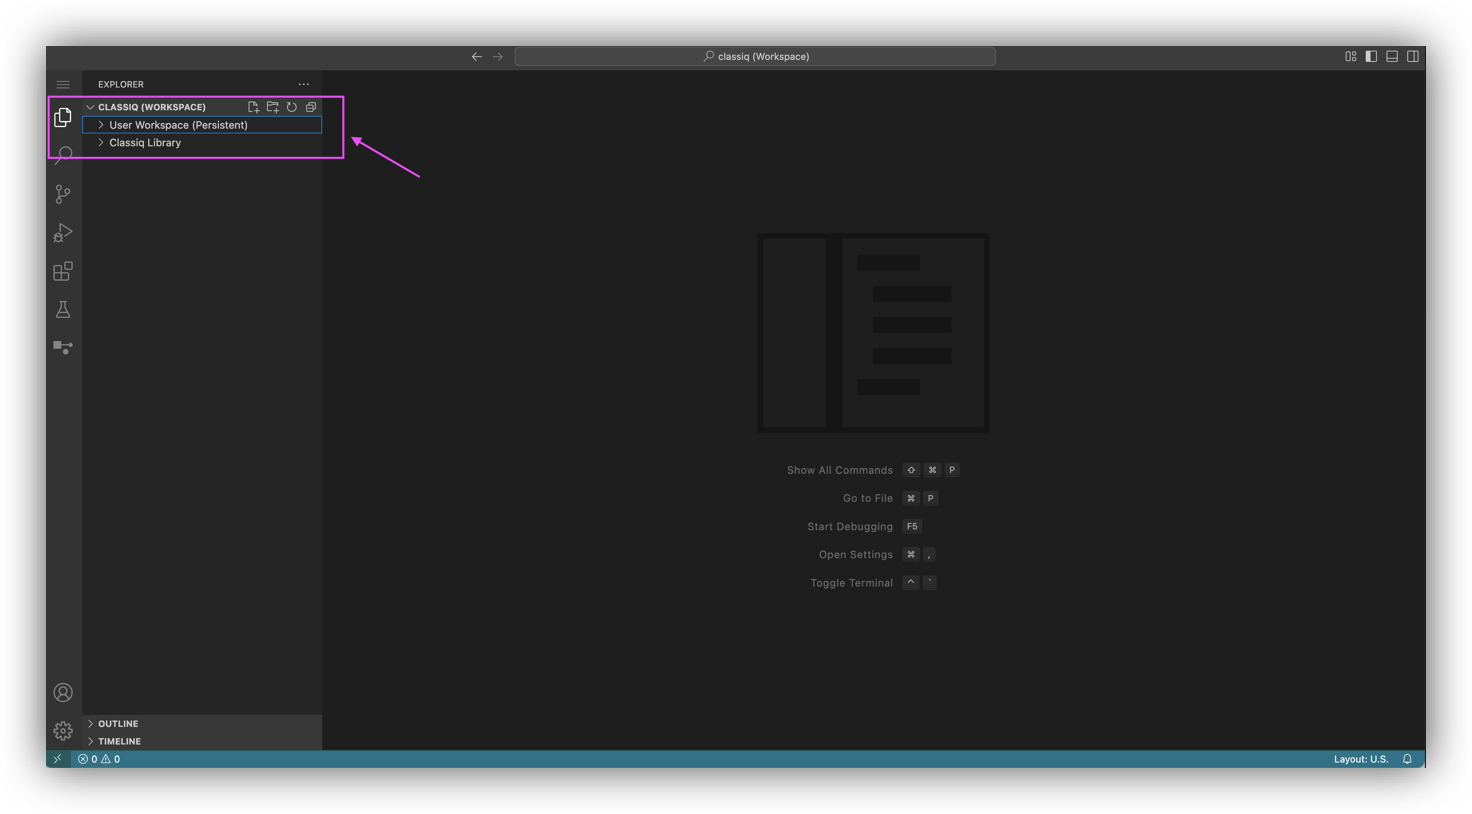
- Workspace: persistent storage; any edits you make are saved.
- Classiq library: This is your place to explore the world of quantum algorithms. You can click on any notebook, modify it, and run it. But remember that this is non-persistent storage: any edits to these files are reverted when the Studio is shut down (after 1 hour of being idle). If you’ve made changes you want to save, copy-paste the file to the personal workspace section.
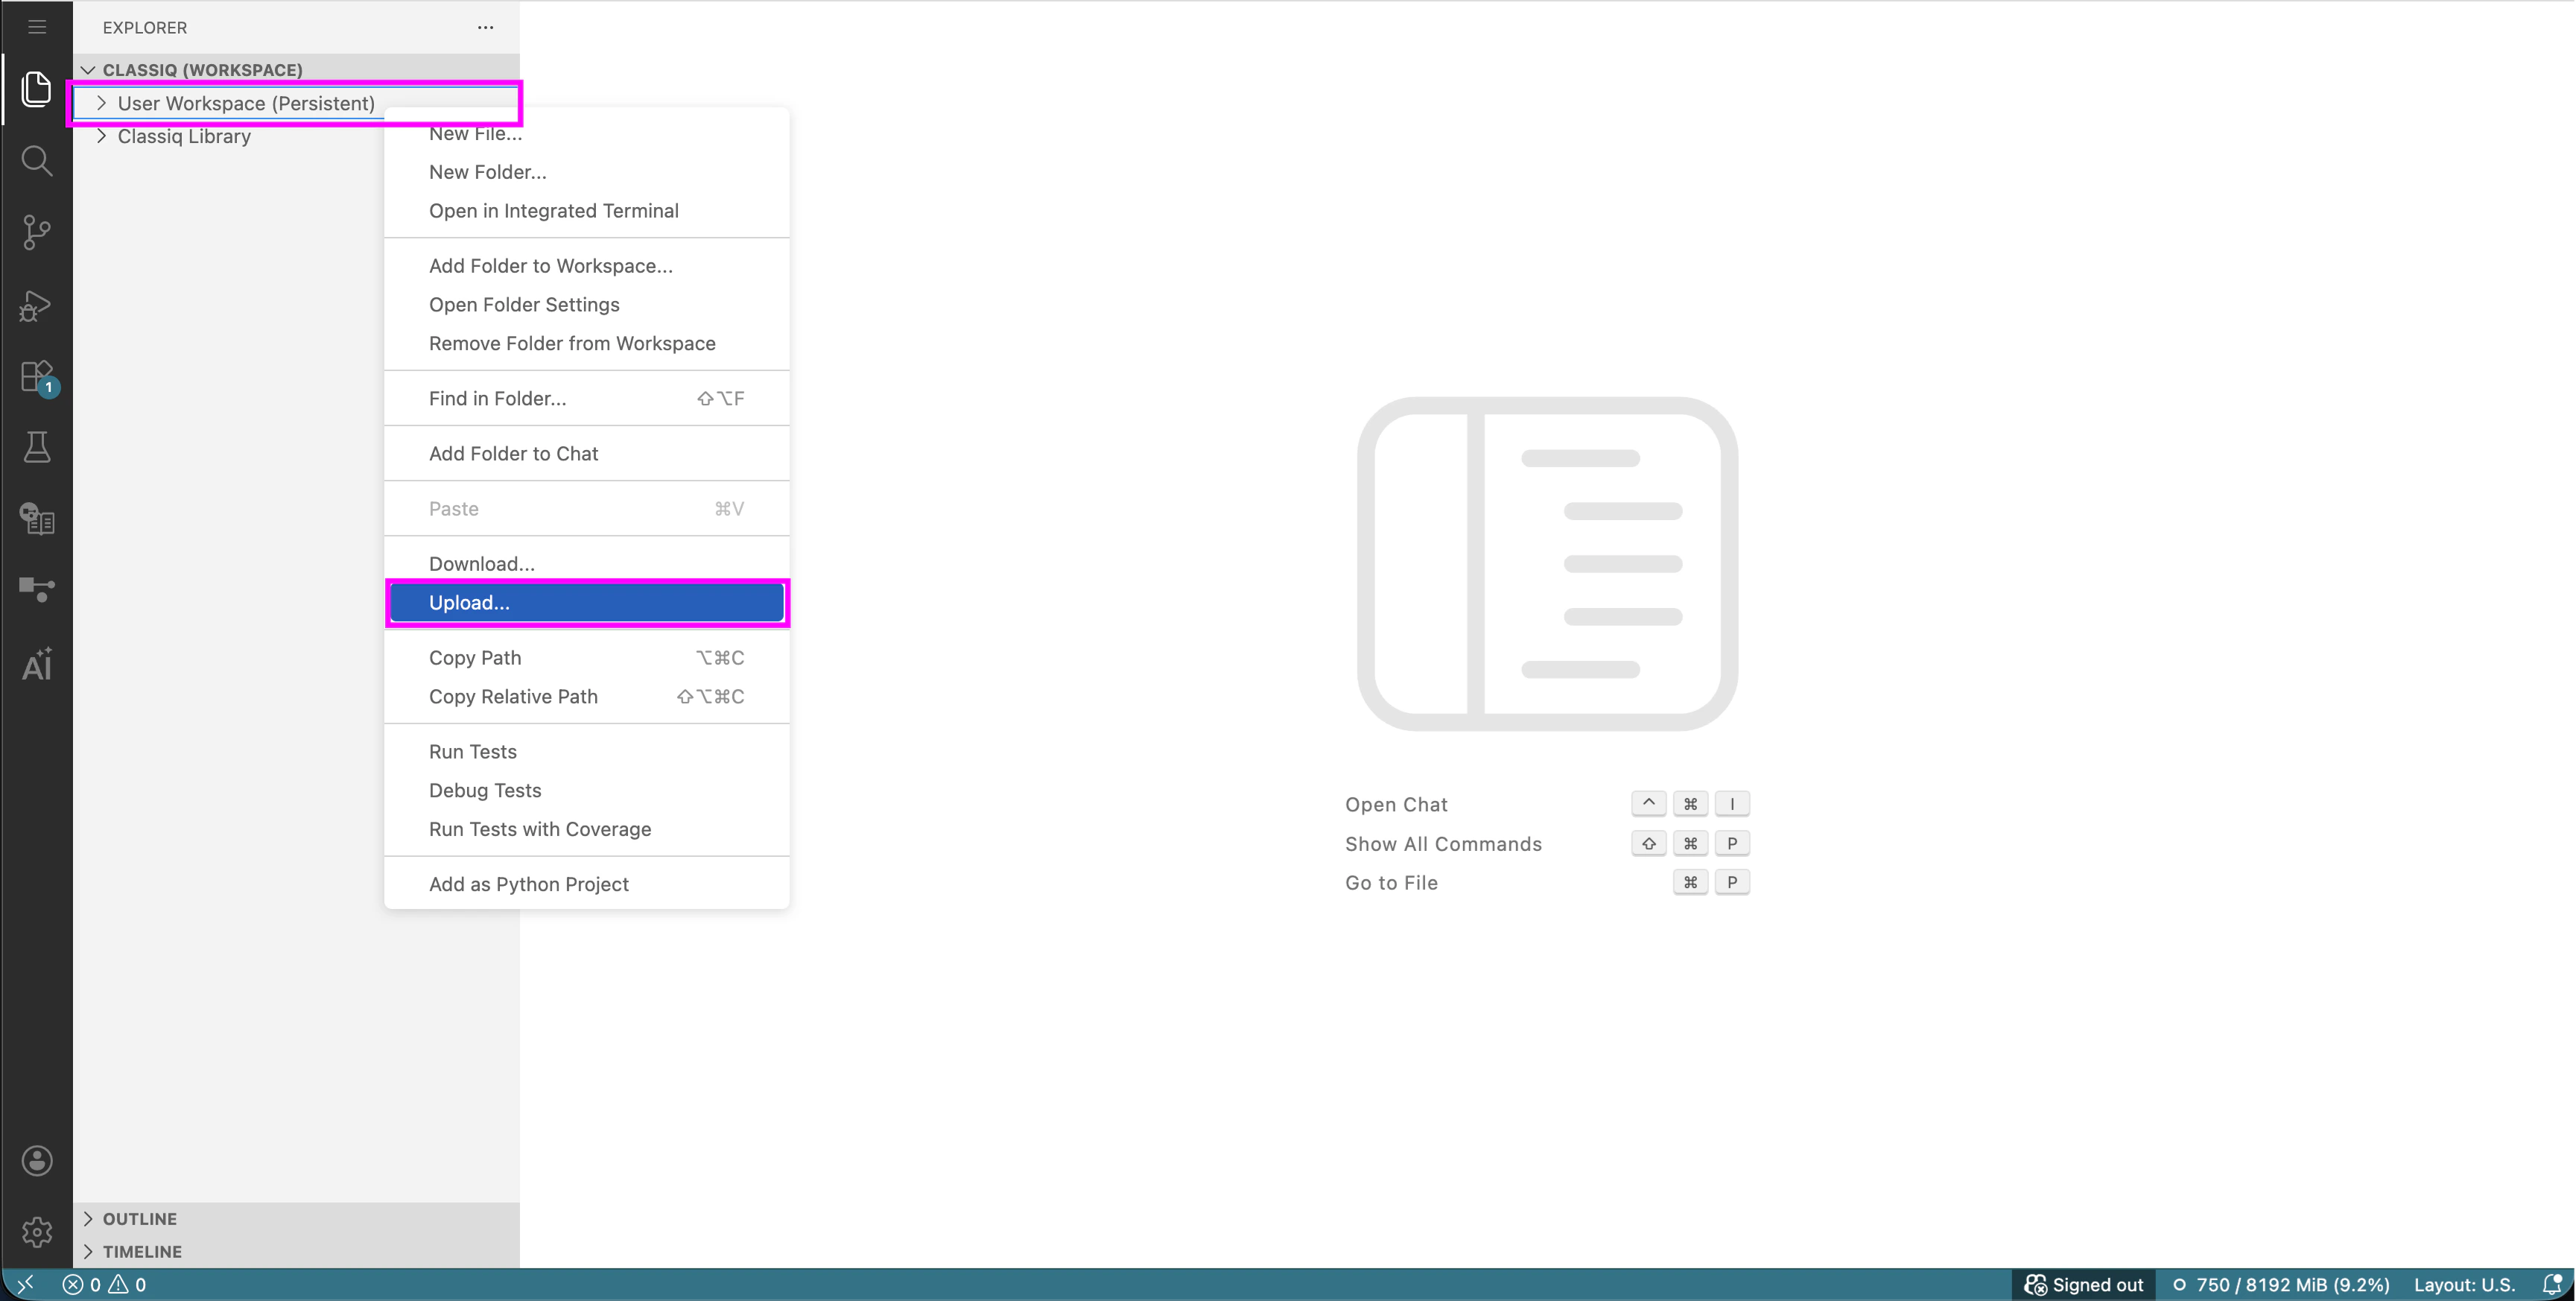
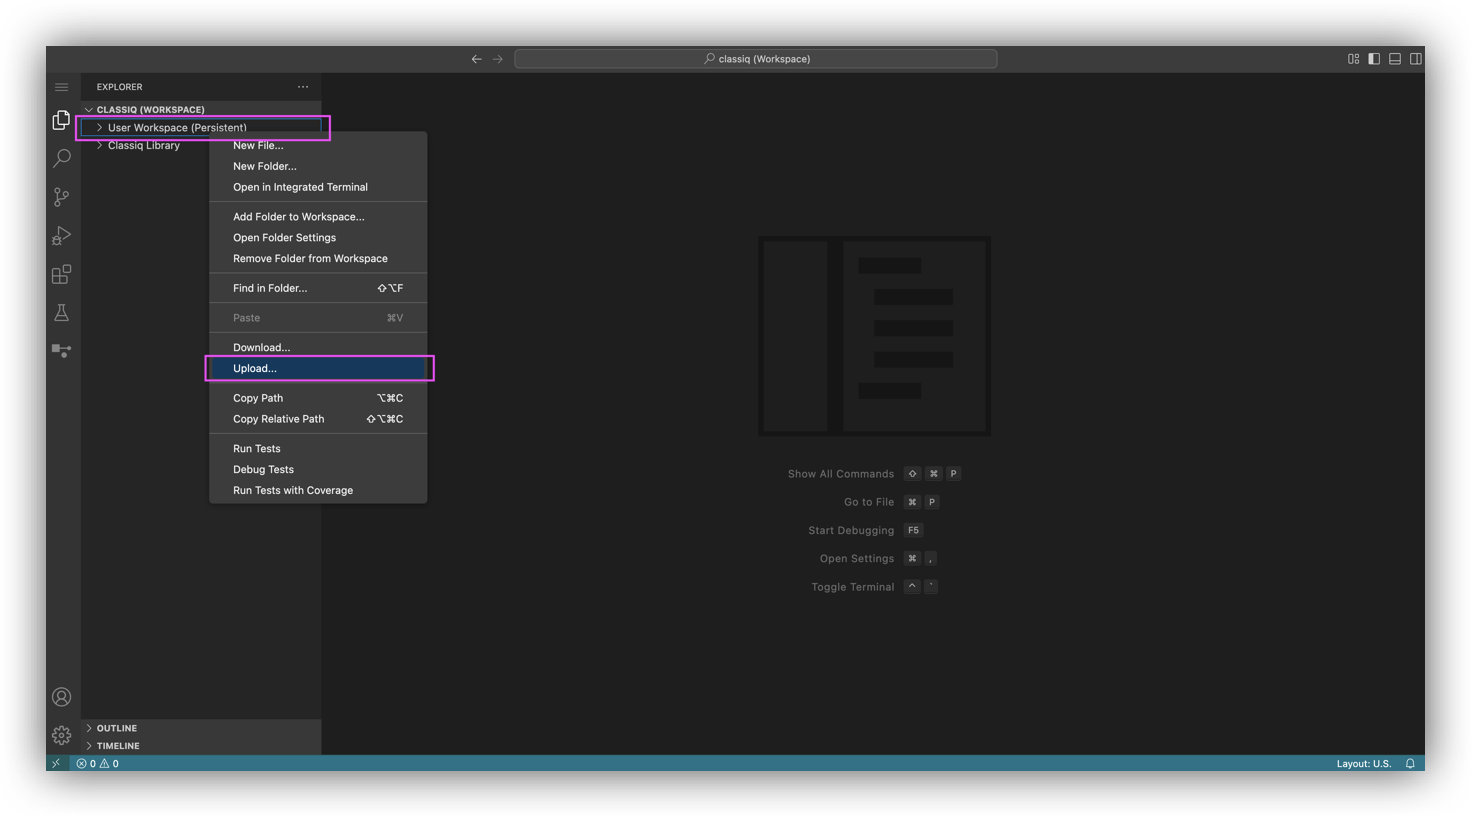
- You can also upload any file into your persistent storage by right-clicking on “user workspace” and selecting “upload”.
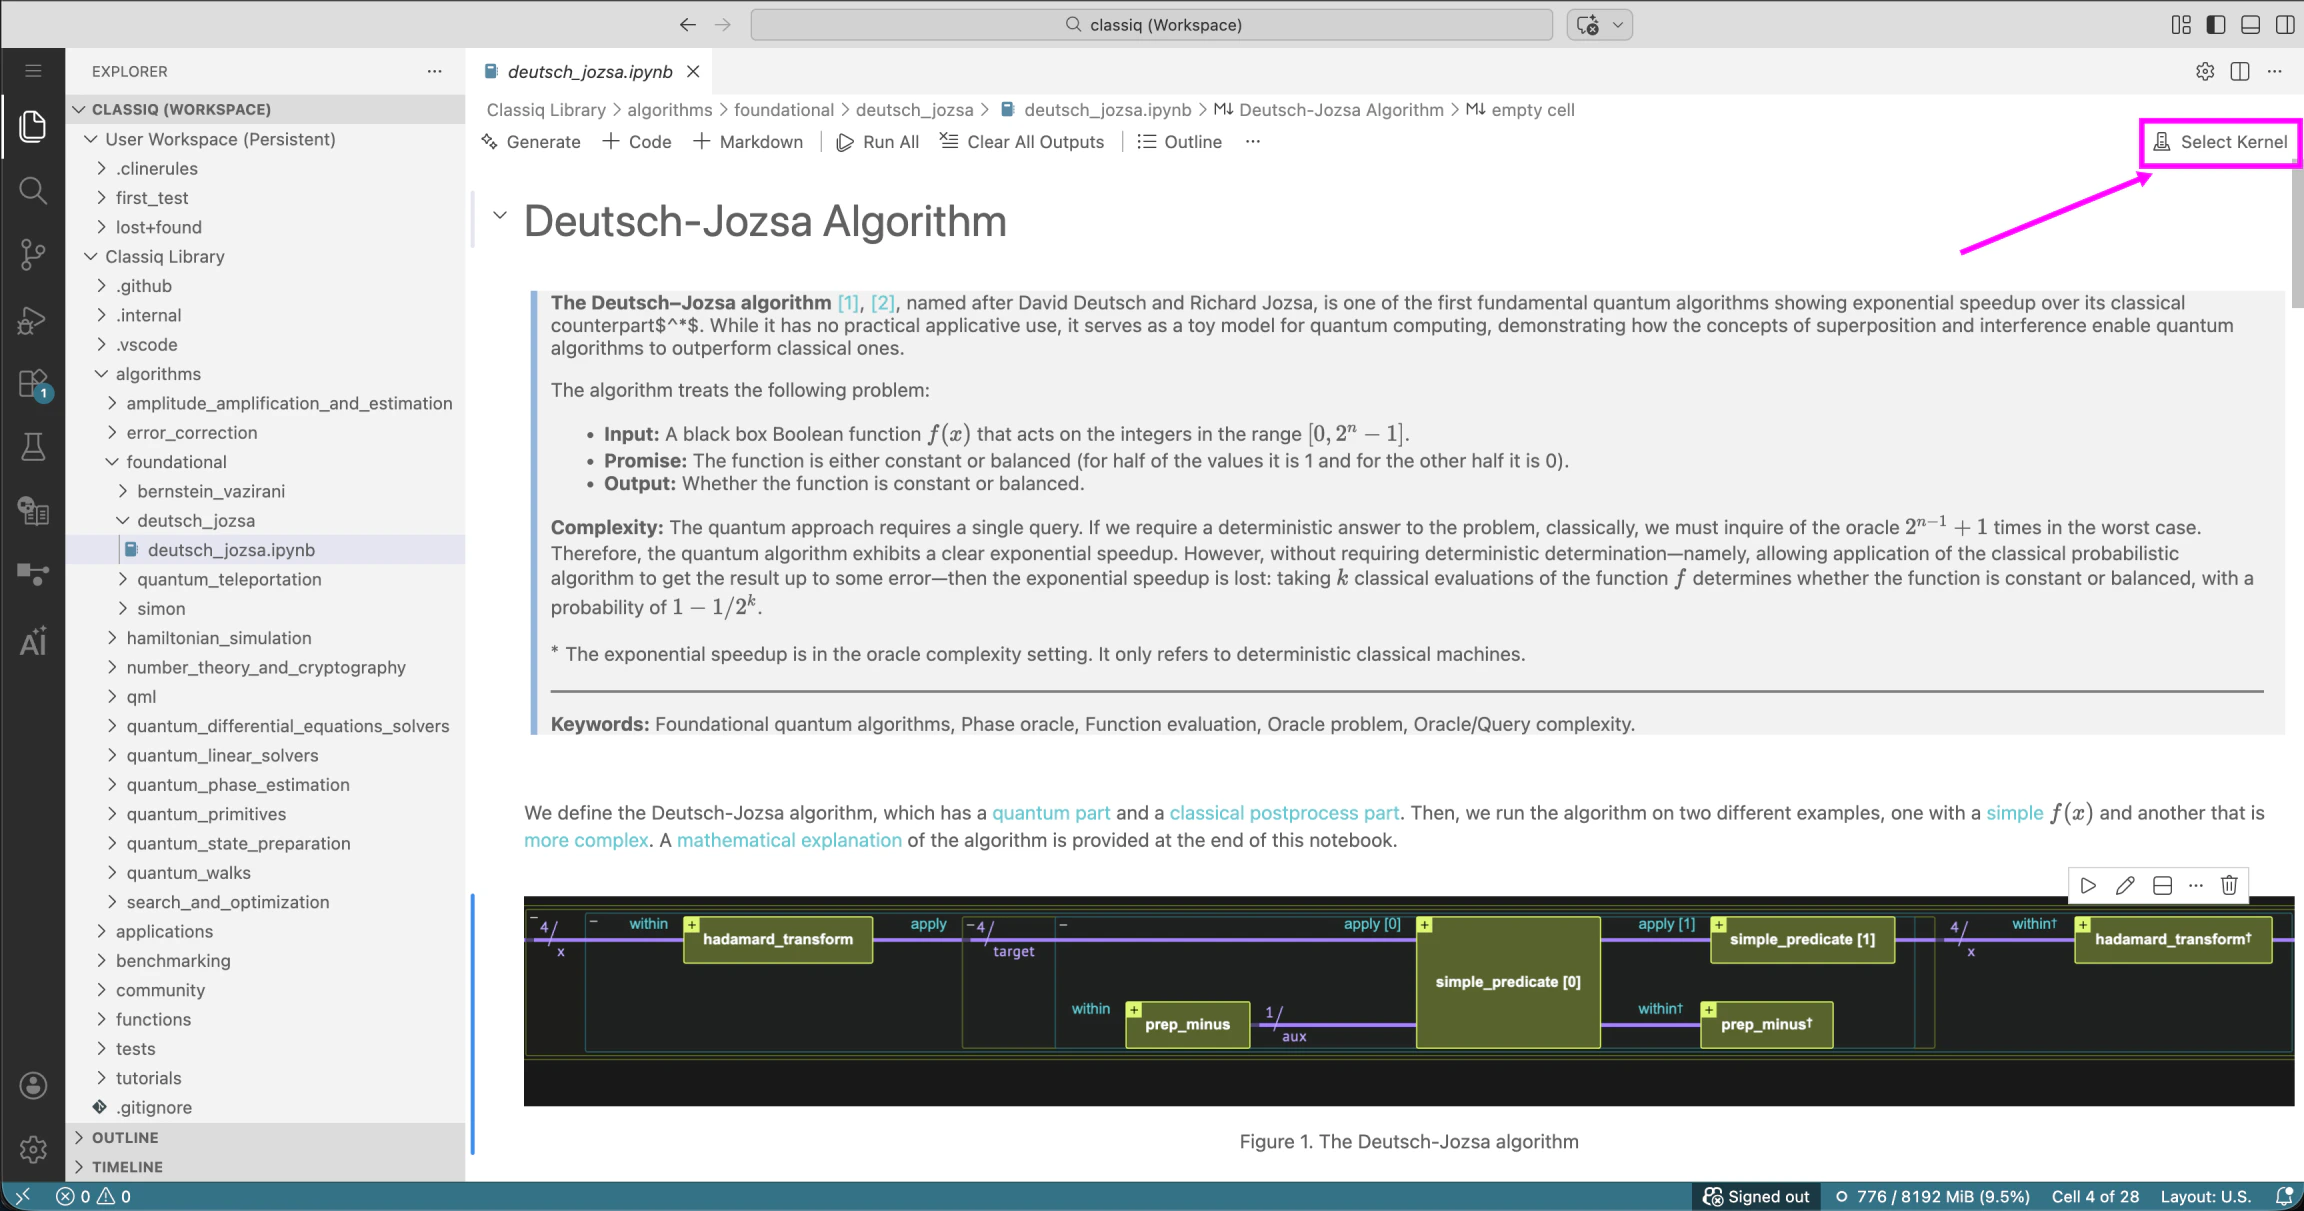
- When running a notebook for the first time, you will be asked to install the kernel. Click on the “Select Kernel” button and choose the recommended Python kernel (Python 3.12.8).
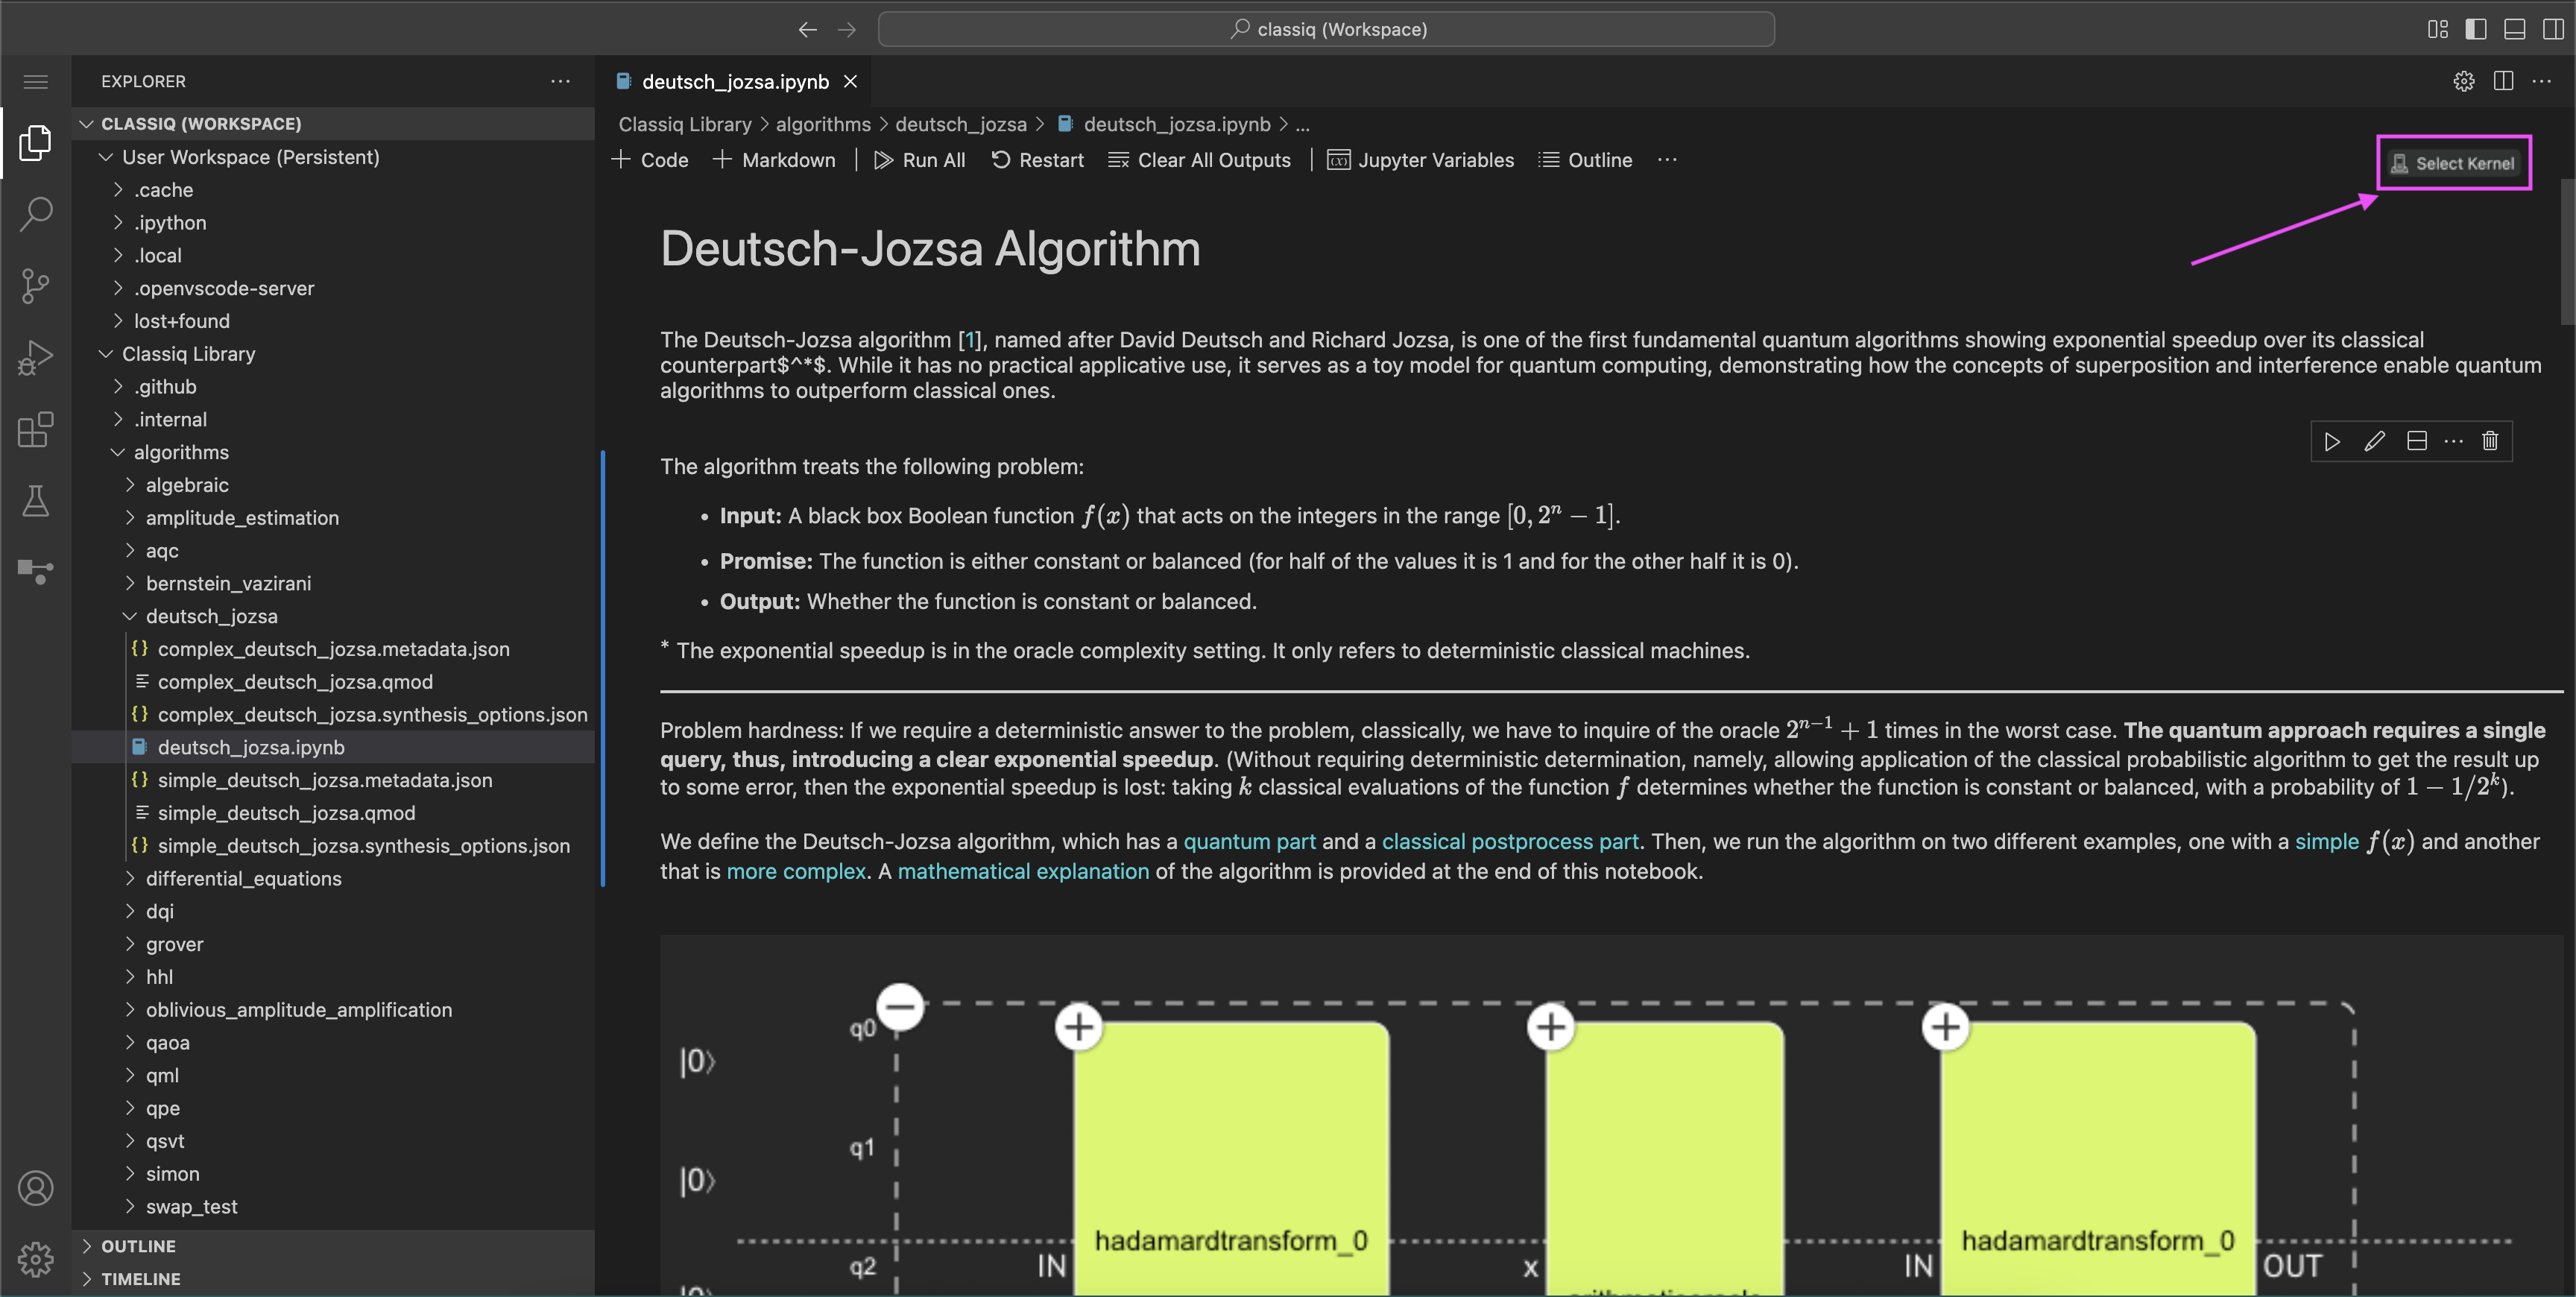
- A drop-down menu appears; select “Python Environments” (or press “Enter”).
- Select “classiq-venv”.
- More advanced users who are comfortable managing their own environment are welcome to set up and use their own virtual environment.
- Start coding, experiment, and create quantum algorithms.
- When calling the method
show()you might see a pop-up that asks you to trust an external domain - click on “trust all domains from classiq.io” to see this pop-up only once. The circuit will open up in a separate tab.
Best Practices
In the Studio, each user has their own dedicated persistent storage (2 GB). This means that every time you reload, you can keep working right where you left off, just as you would locally on your computer. Keep the following considerations and best practices in mind:Data Persistence
Location
The explorer (file browser) is divided into two sections: Workspace and Classiq library. The Classiq library is non-persistent, and any edits to these files are reverted when the Studio is shut down (after 1 hour of being idle). Thus, we recommend copying the desired notebook to the Workspace section.Retention Period
Please note that this feature is still under development, and we are working on improving it. Thus, we will do our best to keep your data and work safe, but we cannot guarantee that your data will be kept forever. We recommend backing up your work locally (by downloading the files) or in a remote repository.Using Git
We highly recommend using Git and GitHub (or similar) to keep track of your work. You can use Git in the terminal or in the Studio. Check out this section to get started with Git. After committing locally, it’s best to push your work into a remote repository for backup and collaborative work.Using the Virtual Environment Wisely
You have a virtual environment installed in your Studio. You can install any pip package you need for your work (e.g., Qiskit, TensorFlow, etc.), but keep in mind that you have limited space. Also, environments are often hard to maintain, and you can get into a dependency rabbit hole. If you want to experiment with new packages, create a new venv with whatever packages you need and delete it when you’re done. We guarantee that the “classiq-venv” is set and working.Resetting the Virtual Environment
If you encounter issues or simply want a clean slate, you can reset your virtual environment by running the following command in the terminal:
Pro Tip: To manually reset your virtual environment, you can run:
rm -rf /classiq-venv/*
Pre-Installed LaTeX (latexmk)
latexmk and a TeX Live subset (texlive-latex-base, texlive-latex-recommended, texlive-latex-extra, texlive-fonts-recommended, texlive-science) are pre-installed in the Studio. This means you can run the benchmarking application from the Classiq library and have it build its PDF report out of the box, without any additional setup.